How to create a real-time UI with NextJS and Supabase
by Pablo Varela on Sun Aug 01 2021The architecture
First, let’s talk about the pieces I used for this:
- NextJS: The framework for React. Next has lots of cool features out of the box, but none are really important for this project, only that we can use the latest react with hooks.
- Supabase: The open-source alternative to Firebase. Supabase is a new tool to create databases with lots of features, but the most important one for us here is that we can subscribe to live changes in the data via web sockets. We’ll use react-supabase hooks for that.
Set up
NextJS
I won’t go into much detail, as it’s not important for this project. But I used my own starter kit that you can find here.
Supabase
First, you need a Supabase account. Their free tier will give you 3 projects for free. Go ahead and create an organization and then a project inside it. It should take a couple of minutes to create de database.
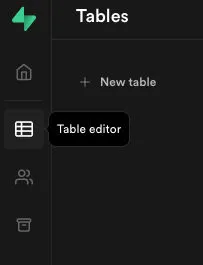
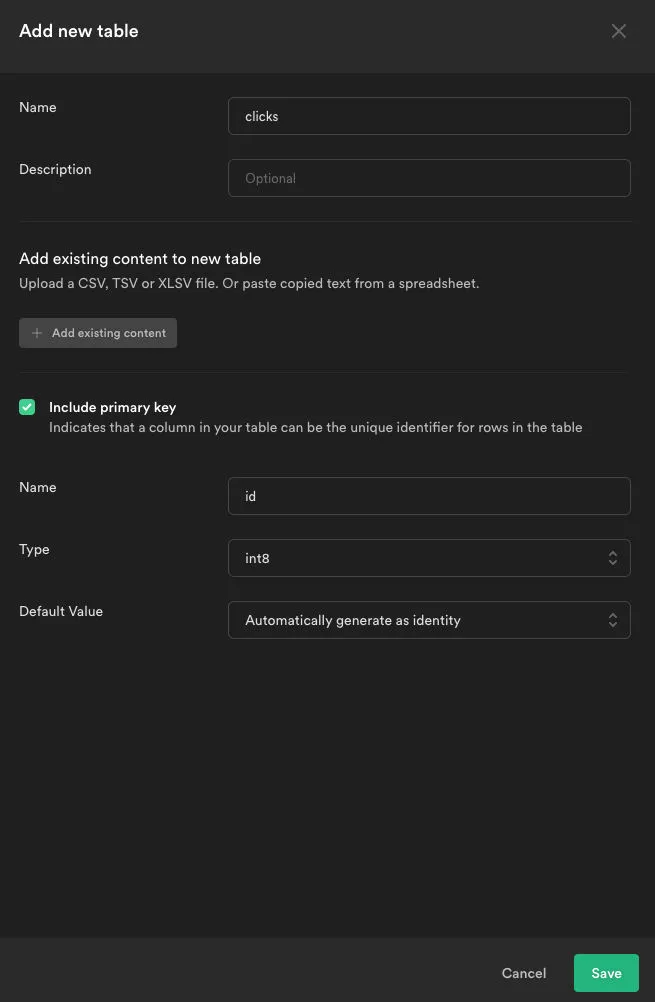
Supabase has a very nice UI that lets you not only directly execute SQL queries, but also create and manage tables right there in your browser. For our project, we’ll create a new table called clicks
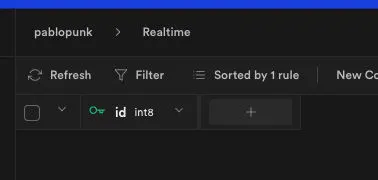
Then we’ll create a row (attribute) for our data called type by clicking the + button right after the id column in our empty table. This will indicate the type of button the user pressed, so there will be one row per button click (another approach would be just one row per button and another column that indicates the number of clicks, but that would require to deal with insert collisions and it’s out of the scope of this project).
Now we need to tell supabase we want that table to handle real-time updates, so we’ll go into the left sidebar button Database > Replication and there we select the 0 tables option from supabase_realtime, and then toggle our table clicks.
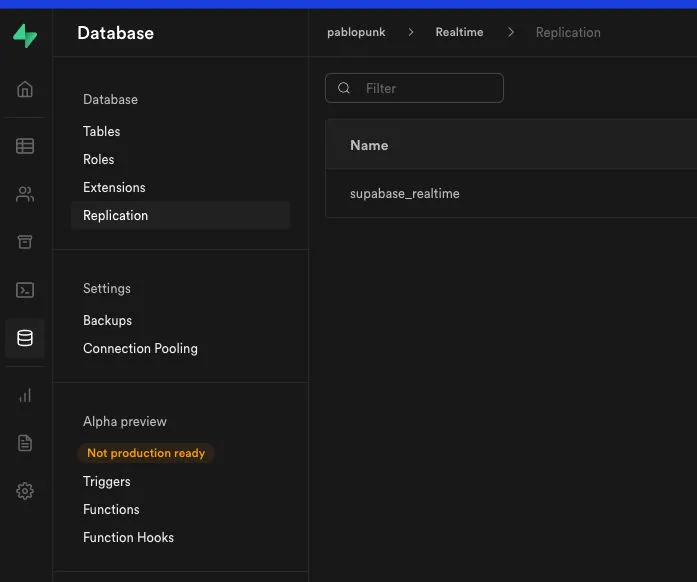
That’s it for supabase!
The frontend
For the client, we’ll use supabase JS client and the hooks library for react:
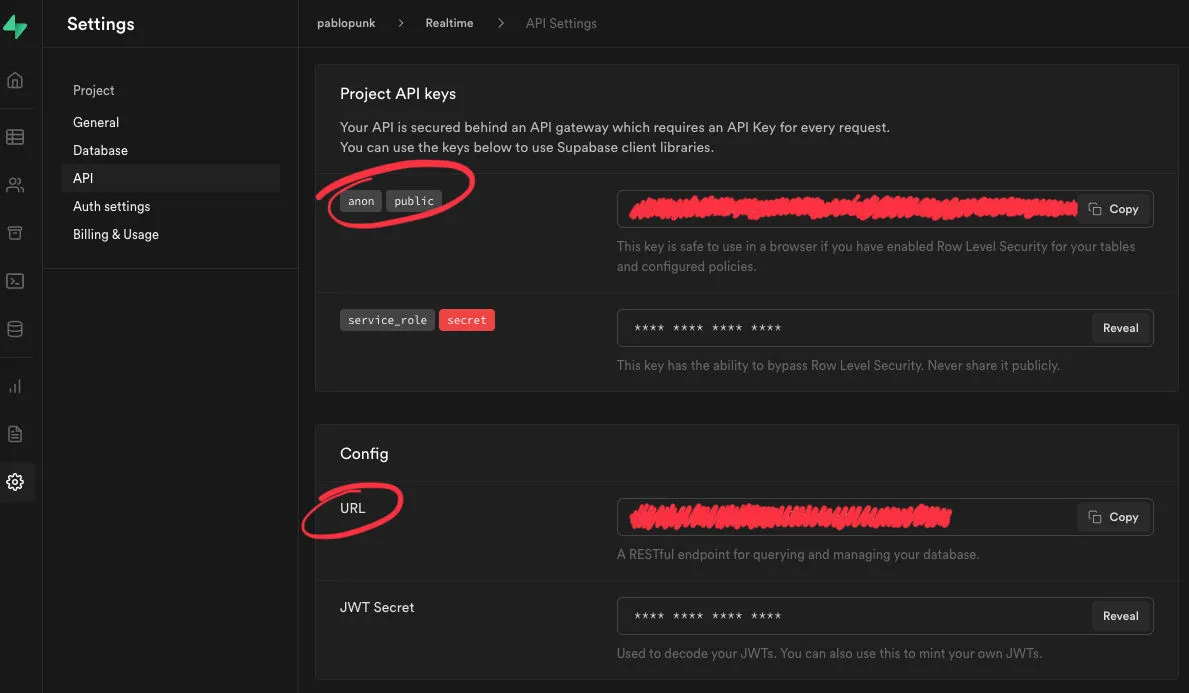
npm i @supabase/supabase-js react-supabaseNow go back to Supabase and copy your table tokens for the client. You can find those under Settings > API. Copy the anon-public key and the URL.
In my case I put them on an .env file:
NEXT_PUBLIC_SUPABASE_URL=https://...
NEXT_PUBLIC_SUPABASE_ANON_KEY=...
Now let’s connect your client to supabase:
import { createClient } from '@supabase/supabase-js'
import { Provider } from 'react-supabase'

// client connected to your database
const client = createClient(
  process.env.NEXT_PUBLIC_SUPABASE_URL,
  process.env.NEXT_PUBLIC_SUPABASE_ANON_KEY
)

export default client

// React component to wrap your app
export function SupabaseProvider({ children }) {
  return <Provider value={client}>{children}</Provider>
}
As you can see I’m also creating a SupabaseProvider to wrap your app inside it. In NextJS I do this in pages/_app.tsx. This will make sure all supabase hooks are connected to the created client:
const App = ({ Component, pageProps }) => (
    <SupabaseProvider>
        <Component {...pageProps} />
    </SupabaseProvider>
)

export default App
Now we can go ahead and create our own hooks. Let’s create one to get the clicks in real-time. We can use the hook useRealtime from react-supabase;
import { useRealtime } from "react-supabase"

export function useClicks() {
  const [{ data, error }] = useRealtime("clicks", {
    select: {
      columns: "id,type",
    },
  })

  return data
}
As you can see it’s very simple, it just gets the data from the database and every time the table changes it will update the hook value.
Let’s create another hook for inserting. This one is even simpler, as there’s already a useInsert hook:
import { useInsert } from "react-supabase"

export function useInsertClicks() {
  const [_data, execute] = useInsert("clicks")

  return execute
}
We don’t really care about the data here, so we just return the execute function, which takes an array of elements to insert.
Bored yet? Don’t worry, this is the last step. Let’s create 4 buttons with 4 emojis. The idea here is to display all 4 buttons with the number of clicks they have:
const buttons = [
  {
    type: 'happy',
    label: '😊',
  },
  {
    type: 'sad',
    label: '😞',
  },
  {
    type: 'party',
    label: '🎉',
  },
  {
    type: 'love',
    label: '❤️',
  },
]

const Buttons = () => {
  const clicks = useClicks()
  const insertClicks = useInsertClicks()
  const clickedButton = (type: string) => () => insertClicks([{ type }])

  return <>
    {
      buttons.map((button) => {
        const clicksForType = clicks?.filter((c) => c.type === button.type).length || 0
        return (
          <button onClick={clickedButton(button.type)}>
            <span>{clicksForType}</span>
            <span>{button.label}</span>
          </button>
        )
      })
    }
  </>
}
Let’s break this code into parts. First, you can see we declare the 4 buttons as an array, so we don’t repeat all the HTML for each one. Then we display those buttons with their corresponding clicks: clicksForType is counting how many rows there are of the current button type. Then we insert a new row on every click, that’s done by inserting an array of one here insertClicks([{type}]).

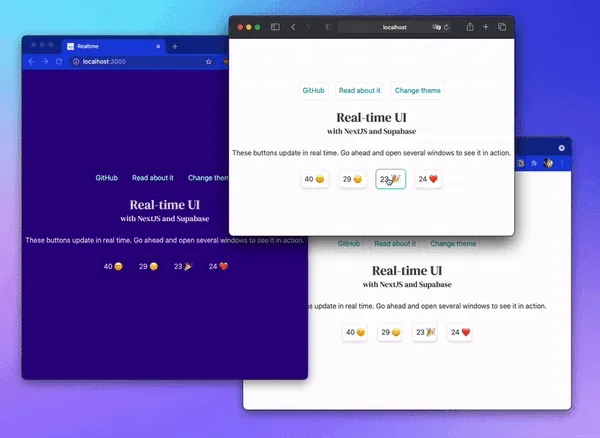
Demo
That’s really it! We have a working demo!
The source code for that is on GitHub: pablopunk/realtime-next. As you can see, the code there is fancier because it has some animations and styles, but the basic functionality is the same we’ve built in this post.